Remote Temperature Monitoring using GSM – AVR Project
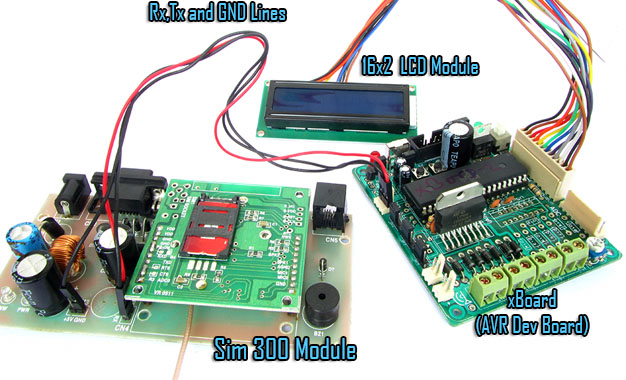
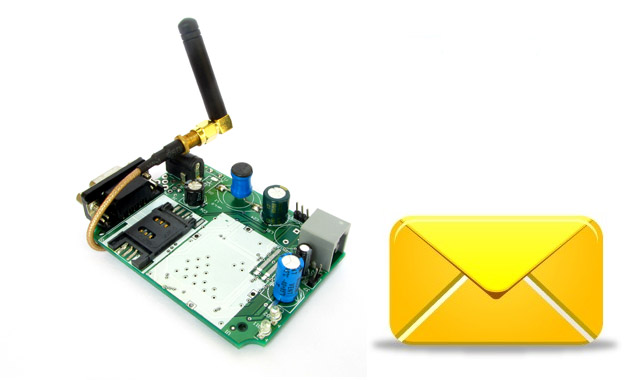
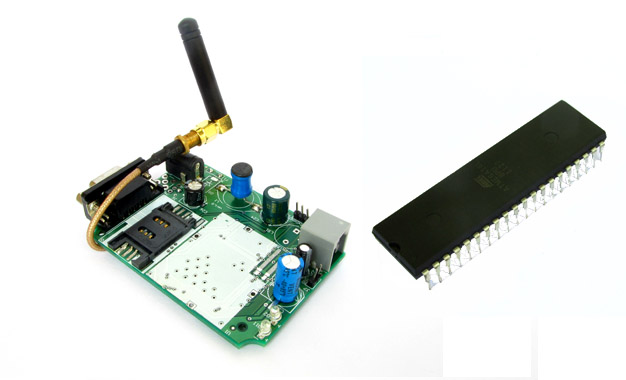
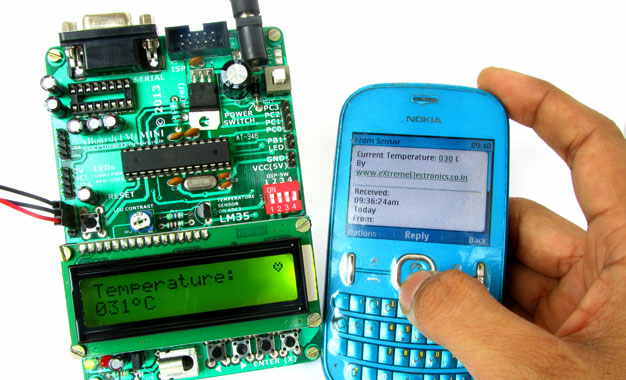
If you want a live demo of this, please register from the link given below. (Only in Pune) REGISTER NOW! This project can also be implemented using a PIC18F4520 microcontroller. Temperature monitoring have wide application in daily life. In modern day keeping an eye on temperature of places such as server rooms, hospital rooms, warehouses and green houses can help solve many problems. But with the use of normal temperature sensors, someone needs to go to the place in order to view the temperature. But with the development of GSM network, one can easily connect the sensor with GSM network, so that you don’t need to be present near the sensor in order to view the temperature. You can just pick up your cell phone and send a request to your sensor by a text message and in no time you will receive the temperature of the remote place ! The advantage is the you don’t need any kind of "special" device at the receiver end. You can use any cell phone to view the remote temperature. This reduces cost as you already have a cell phone. Other benefit is that the range is not limited. You can be at any place in the world (with mobile coverage of course!), to request temperature data from your room. Fig. SMS Based […]