Installation
eXtreme Burner - AVR
USB Port Based Programmer for AVR Microcontrollers.
Back |
Support |
Store |
Facebook |
Installation of eXtreme Burner AVR is fairly straightforward. This step by step guide will help you install eXtreme Burner AVR easily. Please make sure the following points before proceeding.
- Your PC is powered on and running either Windows XP, Windows Windows Vista or Windows 7.
- You have logged into Windows using a user who has administrative rights.
Connect eXtreme Burner - AVR with your PC using the USB cable provided in the package.
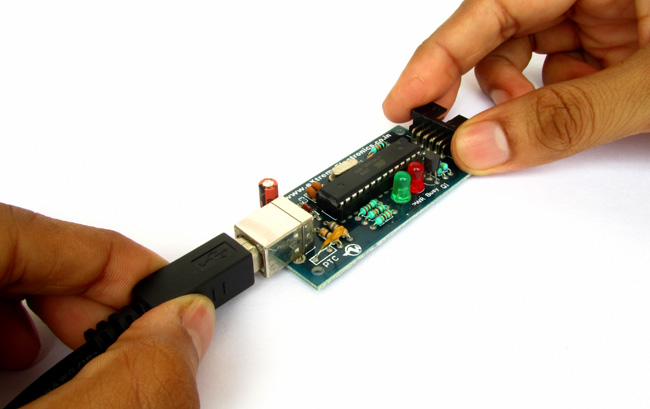 |
Fig. Connect eXtreme Burner - AVR with your PC using USB Cable |
As soon as the device is connected, Windows will try to find its driver on Windows Update website. You have to cancel this step.
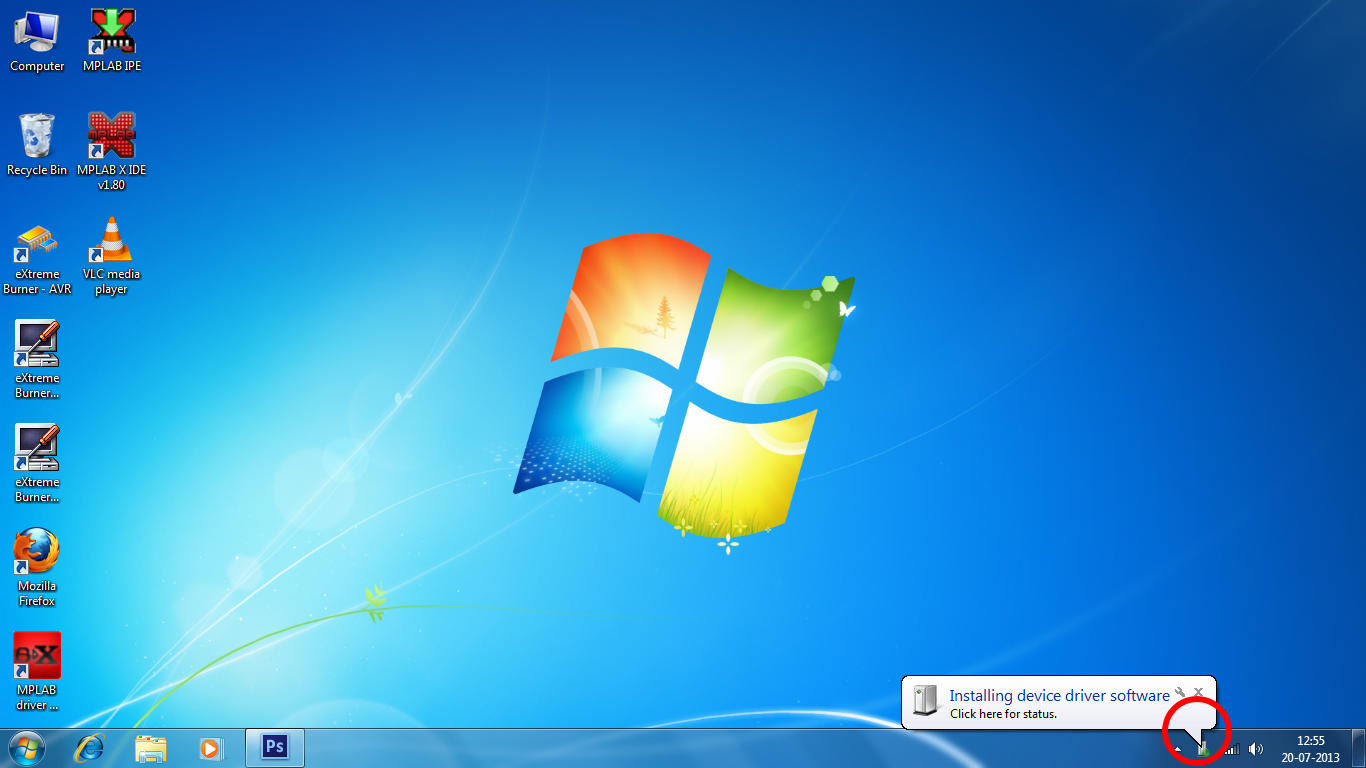 |
Fig. Click on the notification area to view driver installer |
On the window that comes up, click Skip obtaining driver software from Windows Update.
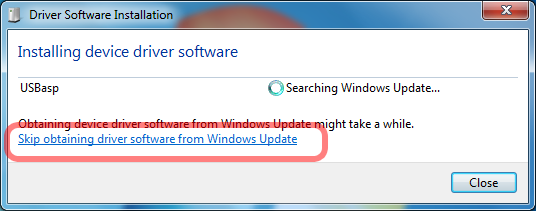 |
Fig. Skip obtaining driver software from Windows Update |
Click Yes on the confirmation dialog.
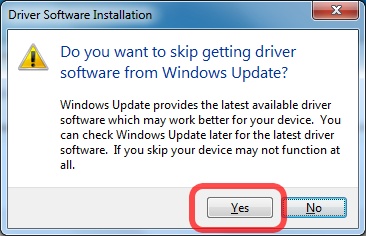 |
Fig. Click Yes on the confirmation dialog. |
When you abort driver download from Windows Update, Windows will show you the following message.
Device driver software was NOT successfully installed.
It is perfectly OK, so click close.
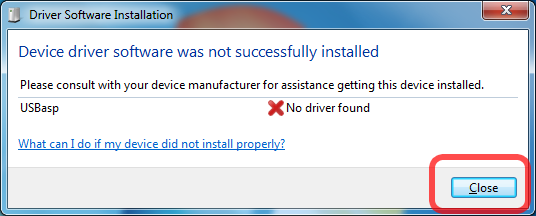 |
Fig. Skip obtaining driver software from Windows Update |
eXtreme Burner AVR comes comes with a single installer that will easily install the device driver and the application for burning hex files to MCUs.
Please note that their is NO need to install device driver separately, the installer will do everything.
You can find this setup file on the DVD that is supplied in the package.
Load the DVD into your DVD drive and open the folder
G:\USB AVR Programmer\Software\
Launch the setup file and it will guide you with the installation process step by step.
Windows may ask for confirmation for running the setup, if it asks selected Run.
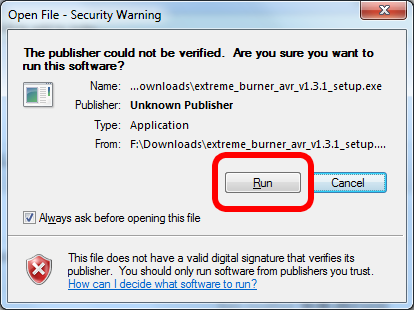 |
Fig. Confirmation |
First of all it will ask you to plug eXtreme Burner - AVR on USB port before proceeding. We have already did that, so we can click OK.
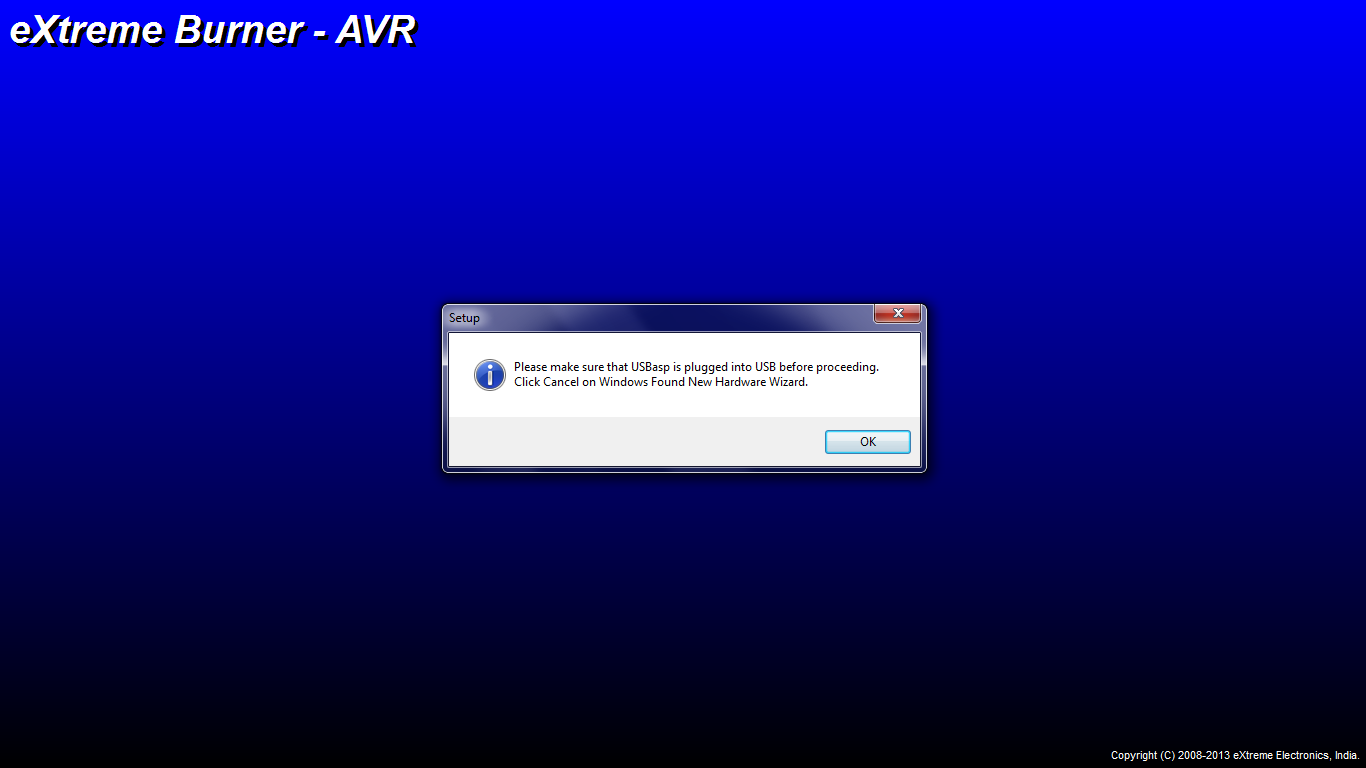 |
Fig. Plug eXtreme Burner - AVR on USB port before proceeding |
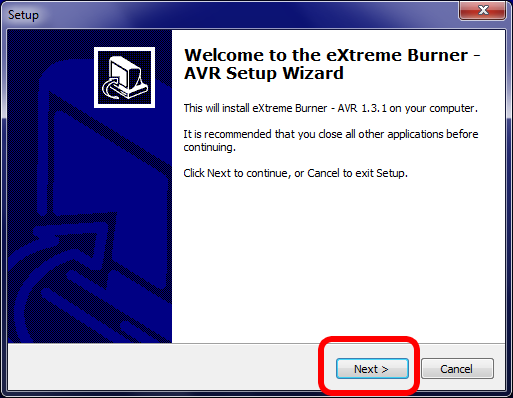 |
Fig. Welcome |
The next screen will ask you where you wish to install the software. Default location is C:\Program Files\ which is OK so you can just click next.
Or you can change the location of installation by clicking Browse.
In the next step you can select whether you want to create desktop icon or not. It is suggested that you create the icon so it is easy for you to launch it from the Windows desktop.
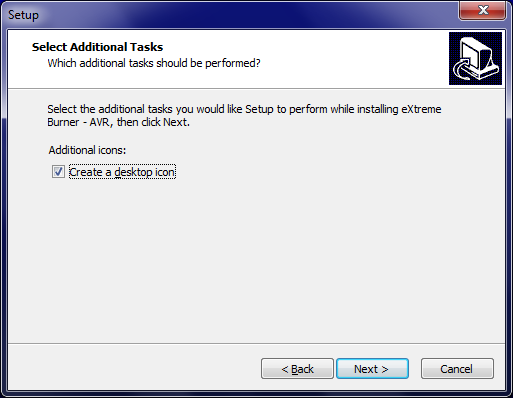 |
Fig. Desktop Icon Creation Option |
Now setup has all inputs required to install the software and drivers, so just click next.
USB driver installation.
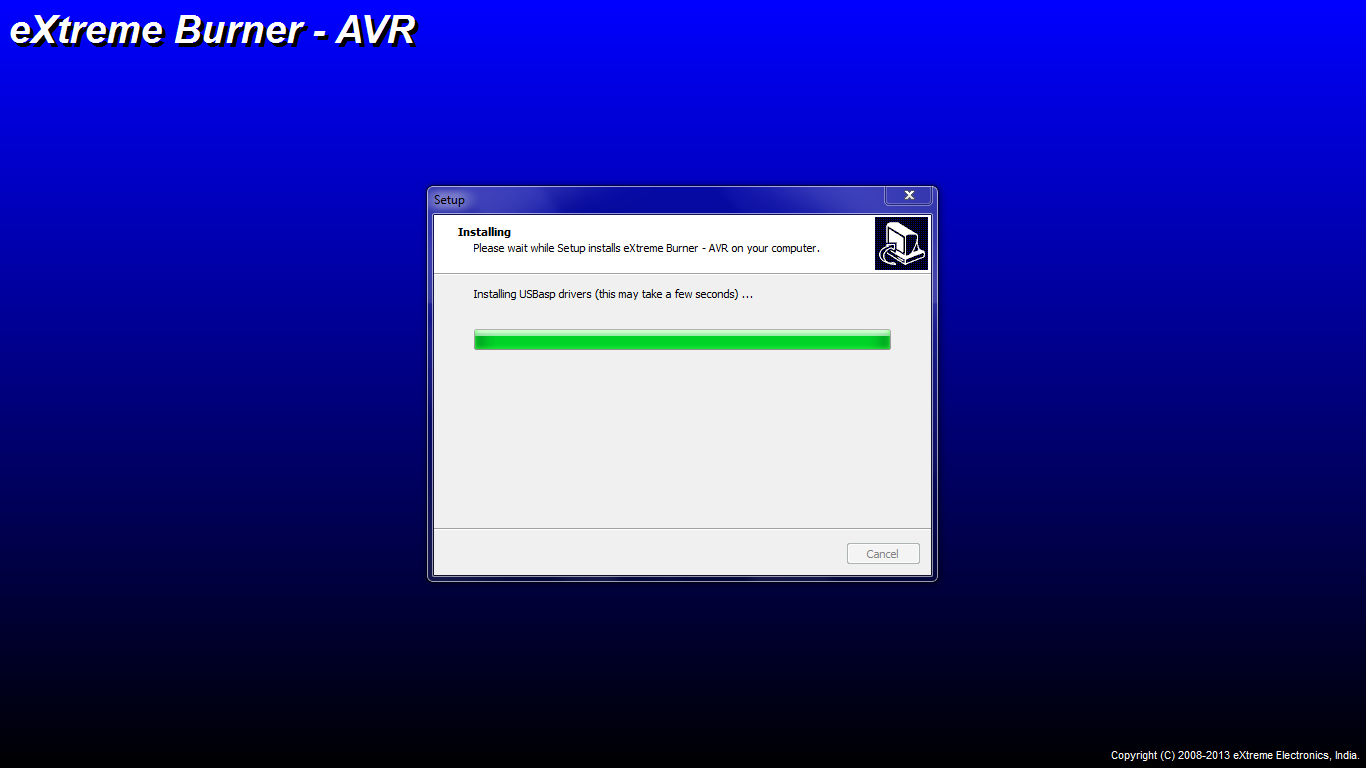 |
Fig. USB driver installation. |
Windows will ask you whether you want to install the driver or not. So just select
"Install this driver software anyway"
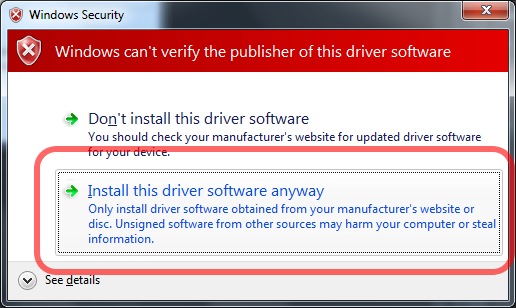 |
Fig. Install this driver software anyway |
After successful installation, the wizard will ask you whether you want to launch the newly installed software.
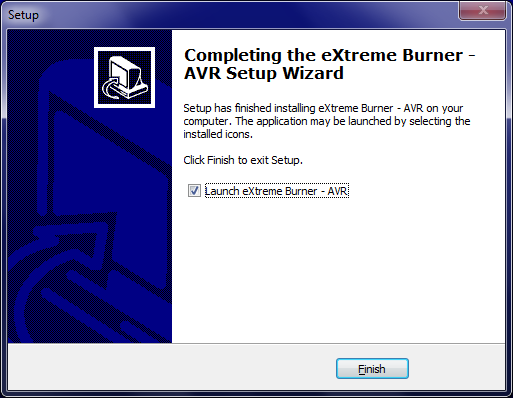 |
Fig. Installation Complete |
Following image shows the main screen of eXtreme Burner - AVR which is used to program AVR microcontrollers.
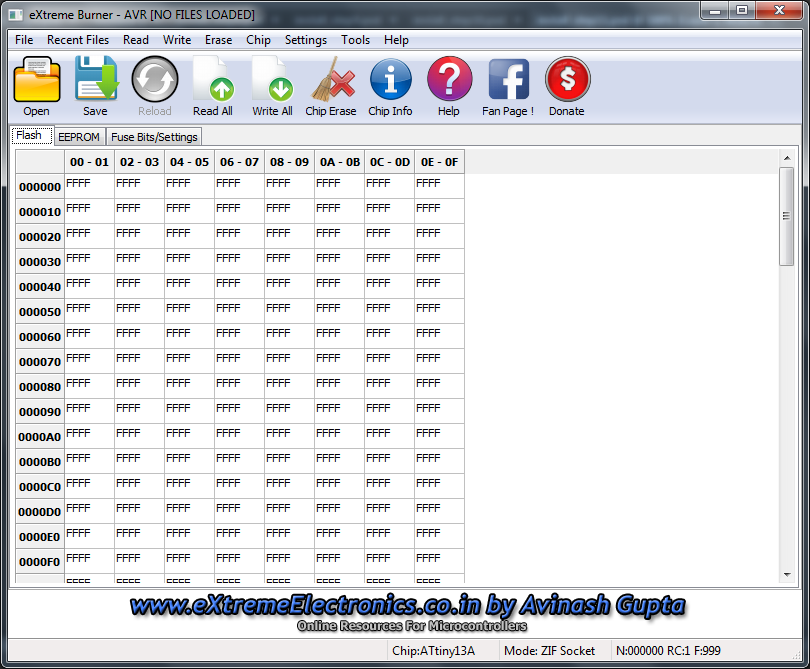 |
Fig. eXtreme Burner AVR |