Chassis Construction
AVR ATmega8 Bases Line Follower.
Easy to make PID LFR Robot.
The base of chassis is made up of a laser cut acrylic sheet which is 1/8 inches thick. We then add a motor clamps and caster holder to complete the chassis. The motor clamps holds the two drive motors while the caster holder is used to mount the front caster wheel.
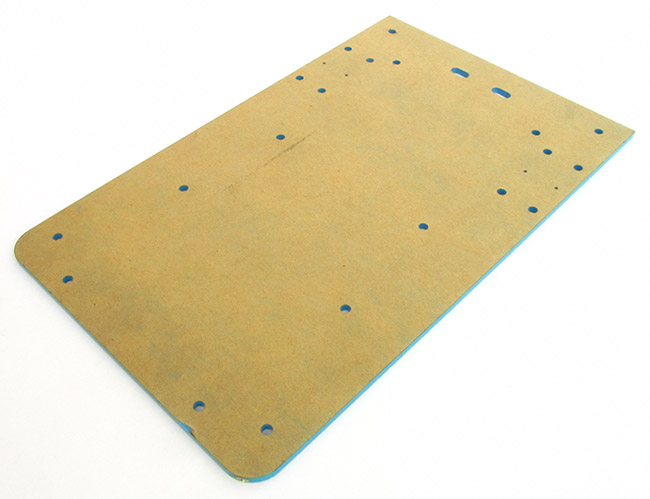 |
Fig. 1 - A laser cut acrylic sheet, the actual colour is cool blue but has brown protective cover |
Peel off the brown protective cover from both sides of the acrylic sheet.
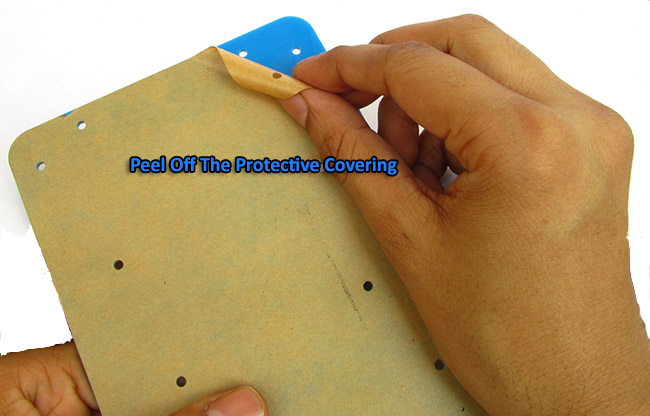 |
Fig. 2 - Peel off the protective covering |
After peeling off, you can see the bright coloured acrylic sheet.
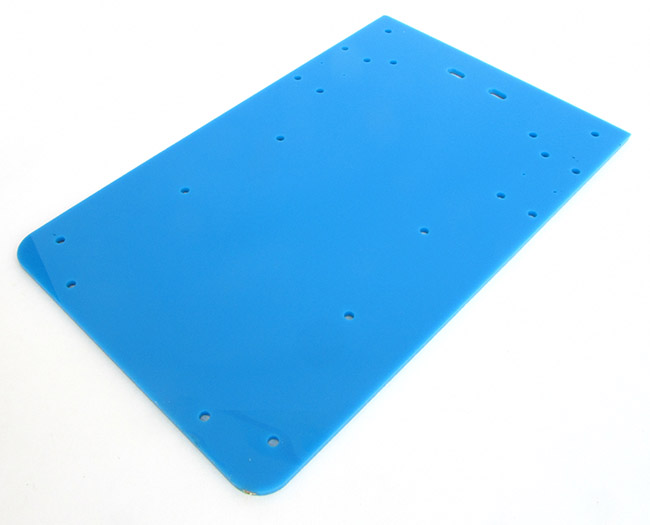 |
Fig. 3 - Bright coloured acrylic |
Start by mounting the motor clamps.
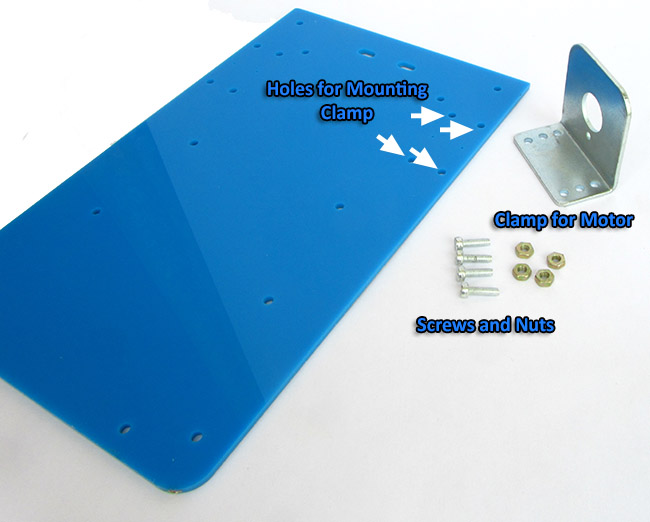 |
Fig. 4 - Holes for mounting motor clamp |
place the motor clamps over screw holes.
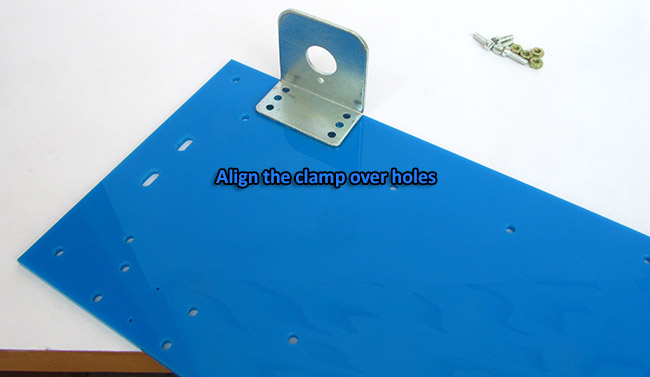 |
Fig. 5 - Align the motor clamp over holes |
Then fasten the screws
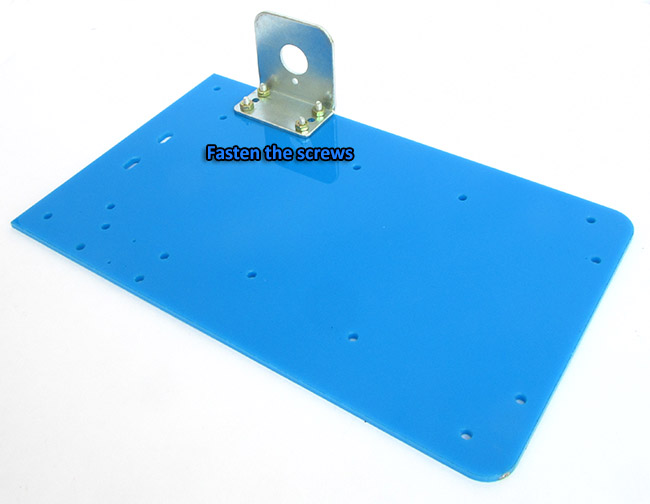 |
Fig. 6 - Fasten the screws |
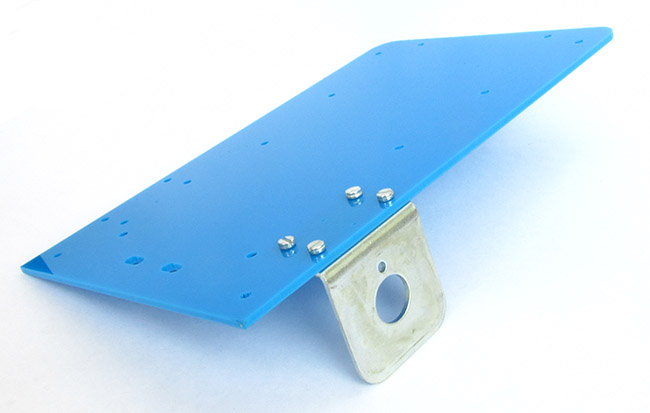 |
Fig. 7 - Clamp mounted |
Similarly mount the other clamp.
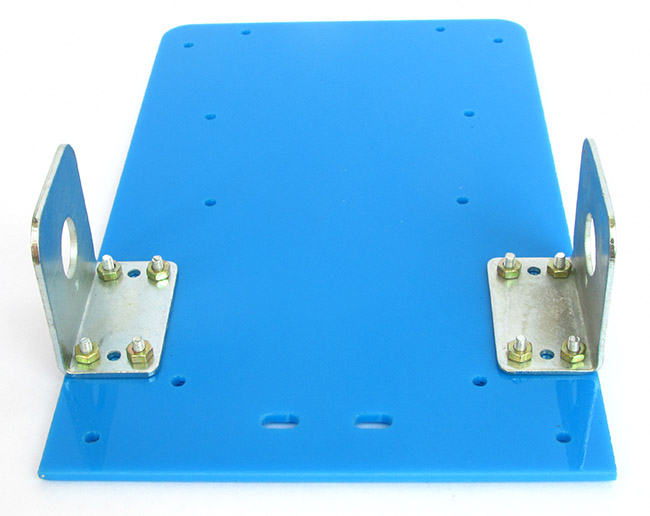 |
Fig. 8 - Both clamps mounted |
After both the clamps have been mounted, its time to mount the front caster wheel holder.
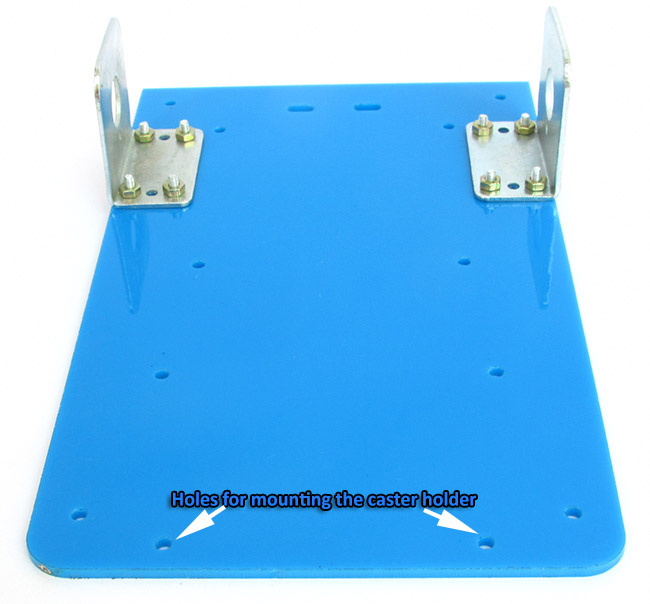 |
Fig. 9 - Caster holder mounting holes |
Place the caster holder in its position as shown below.
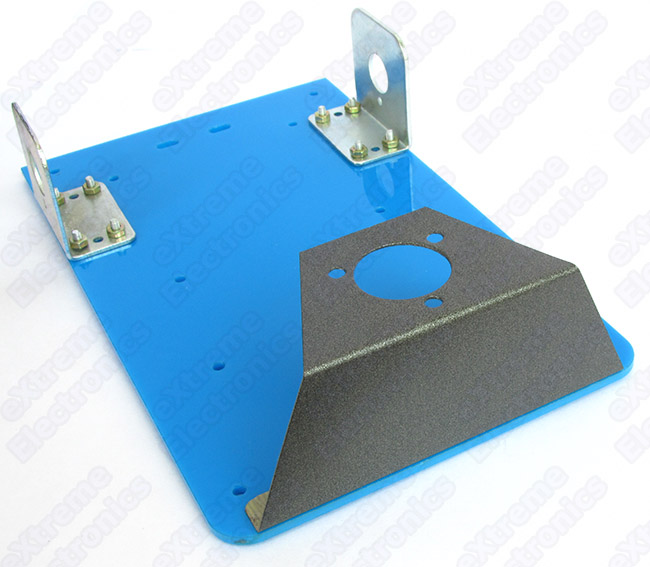 |
Fig. 10 - Caster holder mounting holes |
And fix it using two screws. The chassis is now ready.
Return to Help Index.