Category Archives: AVR Tutorials

Creating Your First Embedded Project in Atmel Studio

In the last chapter we learned about the development process of embedded systems. We saw what hardware and software tools are required to work with Atmel AVR microcontrollers. We learned about programming languages, compilers and IDEs. In this chapter we will go in the step by step details of using the Atmel Studio IDE to enter and compile a program written in C language. We won ‘t be going in the details of the program. That means what each line means and does. We will simply copy/paste a program as our intention in this chapter is to get familiar with the IDE only. Program will be discussed in latter chapters. You can start Atmel Studio 6 by using its icon from the Windows® Desktop or the Start Menu. Atmel Studio 6 Startup Screen The First screen shown up after the AS5 has started is the Start Page. The start page helps you quickly create a new project or load your previous project without wasting much time. Atmel Studio 6 Home Screen To create a new project we select New Project … option from the Start Page. AS6 will show you the New Project Wizard as shown in the above image. From the project template area (Installed Templates) select C/C++ as the project template. From the project type area select “C […]

Development Process of Embedded Systems

Come on, let’s see how an idea in your brain can be transformed to a working embedded systems. What are the key steps you would be following each type you design a system. The key characteristic of embedded system is that it inherits much of its functionality from a well designed program. Everything the embedded system is able to do is through a program which is running inside the microcontroller. This program is a special type of "software" called a firmware. Because it is "firm" in nature because the embedded system once programed and deployed to the end user will be running the same program through out its life time. For example a TV remote control runs the same program which encodes key press data into serial bit stream and sends through an IR transmitter. Same is the case with a MCU inside a pen drive, digital watch and calculators. In contrast a "software" like MS Word or Firefox is not that much "firmly" tied to your PC or Phone. Your PC can run several other software in addition to these and also they can be replaced by their alternatives. So development of embedded software (i.e. firmware) and its installation on microcontroller should be clear to the user. Step I – Development of Program A program is a step by […]

ATmega8 HC-SR04 Ultrasonic Sensor Interface Demo

Ultrasonic Rangefinder HC-SR04 Interfacing with ATmega8

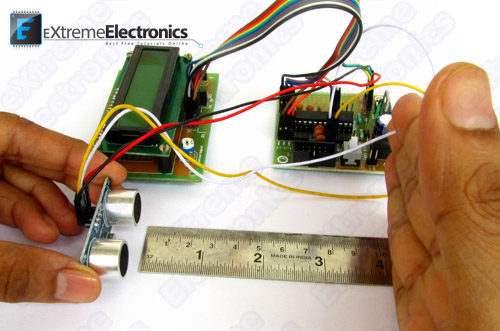
In this article I will describe how to interface a Ultrasonic Range Finder Module with a AVR ATmega8 microcontroller. I will provide a HEX file which you can burn into your ATmega8 directly to quickly test this whole setup. Ultrasonic range finder modules helps find the exact distance to an object. This can have vast application in robotics. These are more expensive than IR based obstacle detectors but the advantage is that they give accurate distance to the obstacle and also their performance is not affected by the colour of obstacle. Ultrasonic Range Finder HC-SR04   Things Required   S. No. Item Image 1 28 PIN AVR Dev Board Contains the core AVR circuit including 5v regulator, reset, ISP. 2 16×2 LCD Board Alphanumeric LCD Module subsystem on board. 3 Single Pin Female to Female Burg Wires Used to interconnect the two boards. And the sensor.   4 USB AVR Programmer To upload the program to the development board. 5 Ultrasonic Range Finder Module 6   12V 1A Power Adapter.   Connect LCD Board Please read this article on interfacing alphanumeric lcd module with AVR microcontrollers. Interfacing LCD Modules with AVR Connect the LCD Board with the development board using single pin f/f burg wires according to the table given below.   LCD Board AVR Dev Board   1 R/W […]

Getting Started with AVR Microcontrollers

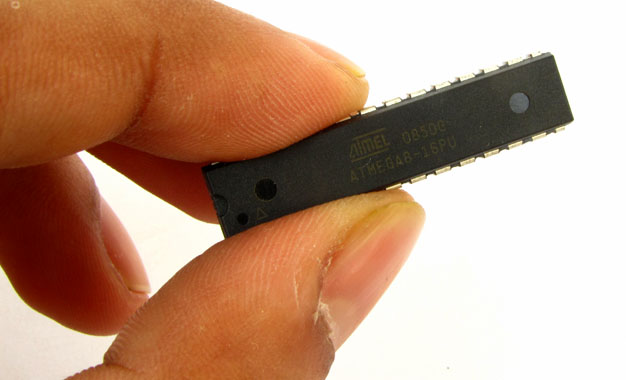
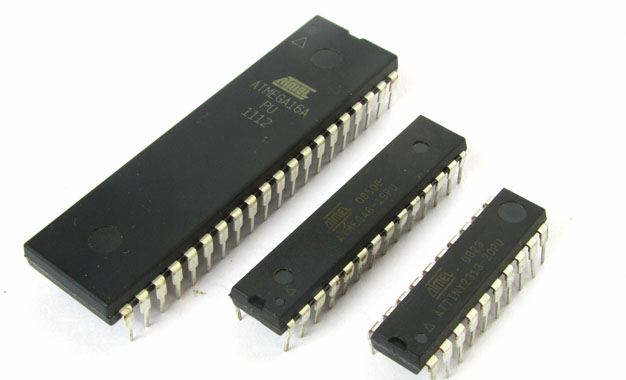
The first step in getting started with microcontrollers is to choose a microcontroller family to work with. Their are hundreds different microcontroller families from many different manufactures. Selecting a Microcontroller There are two family of microcontroller that are extremely popular among hobbyist. The “PIC” series from Microchip and “AVR” series from Atmel. Both these chips are wonder of modern microelectronics. PIC had ruled for a long time but now AVR is also getting in serious competition. Speed and ease of use. I prefer AVRs because one major reason. They are fast. When a PIC and an AVR is running with same frequency lets say 16 MHz, then the AVR is actually executing four times faster than the PIC ! Yes 4 times faster. This is because the PIC requires 4 cycle to perform a single execute cycle while the AVR execute most of the instruction in 1 clock cycle. In addition, I like the AVR architecture because of its consistency. It makes using the most advanced feature of AVR very easy to use. These chips are easily available and they are cheap. Free “C” compiler. One more important thing, generally microcontroller programs are written in assembly language for efficiency. Which you may know is a very low level and unstructured language. Therefore, to achieve a small thing lots of code […]

Introduction to AVR Microcontrollers

Just what is a microcontroller? To get you understand quickly I define a microcontroller as a single chip computer. Yes it is a full blown computer in its own. It has a C.P.U., RAM, some amount of EEPROM (for secondary storage i.e. permanent storage without power), many on-chip peripherals(Timer,Serial communication, Analogue to Digital converters etc.). If you don’t understand, no problem I will be dealing them in detail in next tutorials. But compared to a P.C. their resources(RAM,speed etc)are less. But that is what is required ! Because P.C. is a general purpose computer, which means it can run thousands of different software that are available for specific needs. Like it can run a game. The same P.C. can run this browser in which you are reading this! It can run a custom solution for banks,railways and airways. It can run a 3D modeling, video editing & image editing software for a production company. Many of these are huge software,requiring lots of memory and CPU power. And a P.C. can run simultaneously many of these ! So to run them the host computer should have enough RAM and CPU power so that it can run heaviest of them. But in case of a microcontroller(aka MCU) which is used for a specific purpose like switching a Microwave oven heating off after […]

Interfacing Analog Joystick with AVR ATmega32

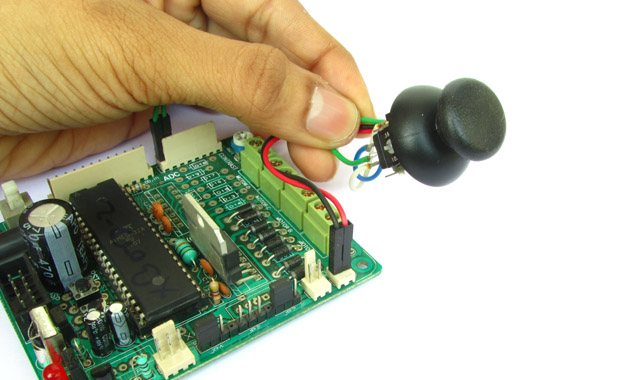
If you have played games on console you must be knowing what a joystick is. In games a joystick is generally used to control the motion of character or a vehicle (like plane or car). Joystick give a very realistic two dimensional control! Joystick are also used to control the motion of real objects like a robot or a car. Generally we want to control the back and forth motion of any object along with the ability to make it turn left and right. For this we use a common joystick with two axis. The y axis is used to move the object forward and backward, while the x axis is used to turn the object left or right. The type of joystick we are using in this article is an Analog Joystick that means it can give the magnitude of motion along with the direction. For example you can push the joystick little forward to make you robot start moving forward slowly. You can push the joystick further up to increase the speed of forward motion faster. Similarly you can control the speed of robot while making a reverse motion. Turning magnitude can also be controlled in the same way by moving the joystick left or right. Fig. 1 – An Analog Joystick   Working of Analog Joystick. Analog […]

Door Entry Detection for MCU Based Designs

This article discuss how you can detect the entry of a person in a room and get this signal inside your MCU. This is NOT a complete project but just an idea that can be implemented in many different projects. The technique is to use use an IR transmitter and a receiver pair. One side of door will have an IR Transmitter and the other side of door will have an IR Receiver. The transmitter (Tx in short) will continuously send IR beam to the receiver, as long as the receiver(Rx in short) will receive this beam it will give a voltage output in range of 2.5v to 3.0 volts. But as this beam is obstructed, for example by someone entering the room, the receivers output will tend towards 4.5 Fig. 1 – Schematic For Door Entry Detection The IR Transmitter can be made on a small PCB as shown below. It has four mounting holes to fix it in the wall near the door. Please use 1 Watt resistor for R2 and R3 (22ohms). Fig. 2 – IR Transmitter Module Similarly the IR receiver module is made. Fig. 3 – IR Receiver Module.   Mount the IR Transmitter and Receiver as shown in the image below. Fig. 4 – Mounting the Modules on Door. As you can see the […]

Interfacing TCS3200 Colour Sensor with AVR ATmega32

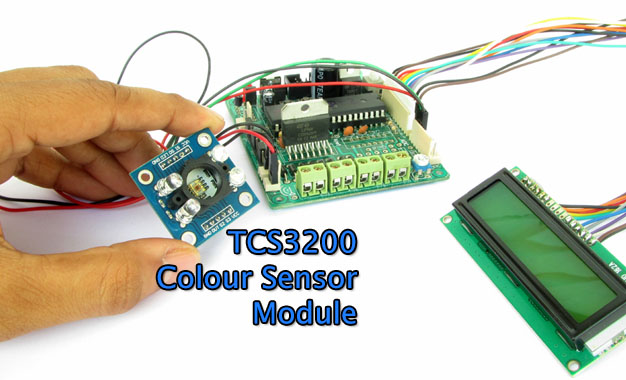
Detecting colour of an object can be an interesting and useful electronic application. It can be realized using a colour sensor like TCS3200 and a general purpose microcontroller like AVR ATmega32. TCS3200 Colour Light to Frequency Converter Chip Fig. TCS3200 Chip .   TCS3200 chip is designed to detect the colour of light incident on it. It has an array of photodiode (a matrix of 8×8, so a total 64 sensors). These photodiodes are covered with three type of filters. Sixteen sensor have RED filter over them thus can measure only the component of red in the incident light. Like wise other sixteen have GREEN filter and sixteen have BLUE filter. As you should know that any visible colour can be broken into three primary colours. So these three type of filtered sensors helps measure the weightage of each of primary colours in incident light. The rest 16 sensors have clear filter. TCS3200 converts the intensity of incident radiation into frequency. The output waveform is a 50% duty cycle square wave. You can use the timer of a MCU to measure period of pulse and thus get the frequency. The output of TCS3200 is available in single line. So you would ask how we get the intensity of RED,GREEN, BLUE and CLEAR channels? Well it has two inputs S2 and […]

Sending and Receiving SMS using SIM300 GSM Module

If you want a live demo of this, please register from the link given below. (Only in Pune) REGISTER NOW! This project can also be implemented using a PIC18F4520 microcontroller. We have schematic and C library available. Hi friends in this part we will have a look at the functions related to text messages. By the end of this article you will have a clear idea of how to wait for a text message, read the message, send a new text message and deleted a received message. We have already discussed the basics of SIM300 GSM Module interface with AVR MCU in our previous tutorial you can refer that article to know about the schematic and basic communication code. GSM Module SIM300 Interface with AVR After reading the above article you will know how we have connected the SIM300, AVR ATmega32 and LCD Module to make a basic test rig. Also covered in the article is the detail about the communication method between SIM300 and AVR which is called asynchronous serial communication, done using AVR’s USART peripheral. The article shows you how to use the AVR USART library to send and receive data to/from the GSM Module. We have also discussed the command response method used for the interfacing with the module. Working code is provided that shows you how […]

GSM Module SIM300 Interface with AVR Amega32

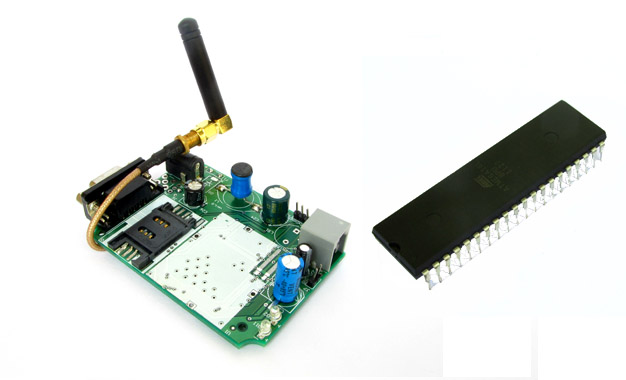
If you want a live demo of this, please register from the link given below. (Only in Pune) REGISTER NOW! This project can also be implemented using a PIC18F4520 microcontroller. We have schematic and C library available. A GSM/GPRS Module like SIM300 can be used for any embedded application that requires a long range communication, like a robot in Chennai controlled by a person sitting in New Delhi! Or simply a water pump in a rice field turned on in the morning by a farmer sitting in his house few kilometers away! You have few communication options depending on the application, they may be as follows. Simple SMS based communication Turn on/off loads using simple SMS commands, so the controlling device is a standard handset. You can use any mobile phone to control the device. A intruder alarm/fire alarm that informs about the panic situation to the house owner on his/her mobile via SMS. Call based communication A smart intruder alarm/fire alarm that calls the police or fire station and plays a pre recorded audio message to inform about the emergency. Internet Based Communication (GPRS) User can control the end application using any PC/Tablet/Mobile with internet connection. Example: LED Message Displays installed on highways/expressways controlled from a central control room to inform users or traffic conditions ahead. A robot controlled […]

Line Following Robot using AVR ATmega8

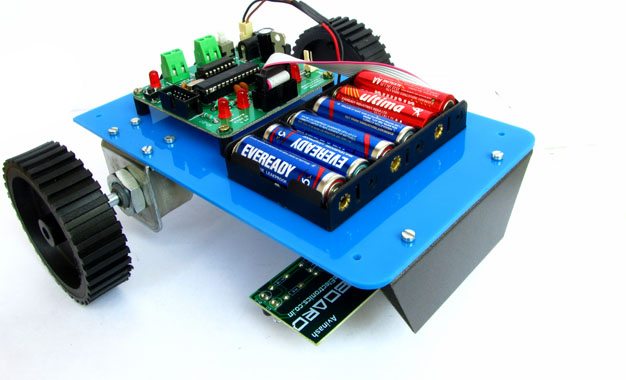
One of the most basic autonomous robot you can build is a line following robot(LFR). This type of robot is run over a white surface which has an arbitrary path drawn over it by using back paint. The task of the robot is to run exactly along this painted path. You may note that the surface may also be black(or any other dark colour), in that case the path is a light colour like white. Please watch the following video for a LFR in action. Designing an LFR At minimum our LFR design require the following components. A sensor to detect the line on the surface.(It can be a simple IR Reflectance Sensor or an high end camera!). We will use a simple IR based sensor, it is cheap and easy to build and use. This article describe how to make a line sensor array. A microprocessor to run the code that takes inputs from the sensor and control the motion of robot. We will use a cheap single chip computer called an microcontroller (MCU). A popular family of microcontroller is AVR series from Atmel. A member of the popular family is ATmega8. ATmega8 is chosen because it has just the required amount of resources and is very low cost. The MCU cannot drive the motors (used to actually make […]

PS2 Keyboard Interface with AVR MCU

A PC keyboard is an old and trusted human machine interface. Most peoples are familiar with it. When a text entry is required it is the best method. If we can interface the PC keyboard with an AVR MCU we can create a whole lot of interesting applications! This tutorial will focus on our easy to use PS2 keyboard library for AVR MCU. Fig. 1 – A PC Keyboard(PS2 Type).   The PS2 Keyboard Library for AVR The PS2 Keyboard library for AVR has only two functions one for initializing the library and one for reading a ASCII character from the queue. The keyboard library automatically translates the scan codes to ASCII characters and buffers them in a FIFO queue. That means even if the CPU is busy doing something else and a character arrives from the keyboard, it will be automatically buffered in a queue. After that the CPU can read the characters anytime when it is free. void InitPS2() Function to initialize the PS2 keyboard library. Internally it initialize the ps2 system and sets up the INT0 isr for handling PS data traffic. Arguments: NONE Return Value: NONE   char ReadFromKbdQ(uint8_t wait) Function to read a character from the keyboard buffer. The wait parameter can be 0 or non zero. When wait is non zero the the function […]